Saturday 22 December 2012

Gingerbread Men

Gingerbread cookies are amuse at christmas! Everybody loves them, they are fun to make, fun to decorate, and fun to eat! They are also a perfect cookie to give to Santa on Christmas Eve ;) A lot of the cookies I am making are cookies my mom has made, except they are not vegan. So, basically, what I have done is replicated almost all of her cookies, but vegan, that way people can try the vegan ones and the non vegan ones, and realize there is NO difference!!:) Don't believe me? Try for yourself:) All you'll need is...

1/2 cup canola oil
3/4 cup brown sugar
1/4 cup sugar
1/4 cup dark molasses
1/3 cup soy milk
2 1/2 cup flour
1/2 teaspoon baking powder
3/4 teaspoon ground ginger
1/2 teaspoon cinnamon
1/8 teaspoon ground cloves
1/8 teaspoon allspice, or nutmeg is fine too

Icing:
1/2 cup powdered sugar
1 1/2 teaspoon soy milk

Mix the oil, sugars, molasses, milk, and spices together. In a separate bowl, mix the flour and baking powder. Then, when they are bother mixed well, add the flour to the other bowl. Rap the dough up and place it in the refrigerator for at least 1 hour.

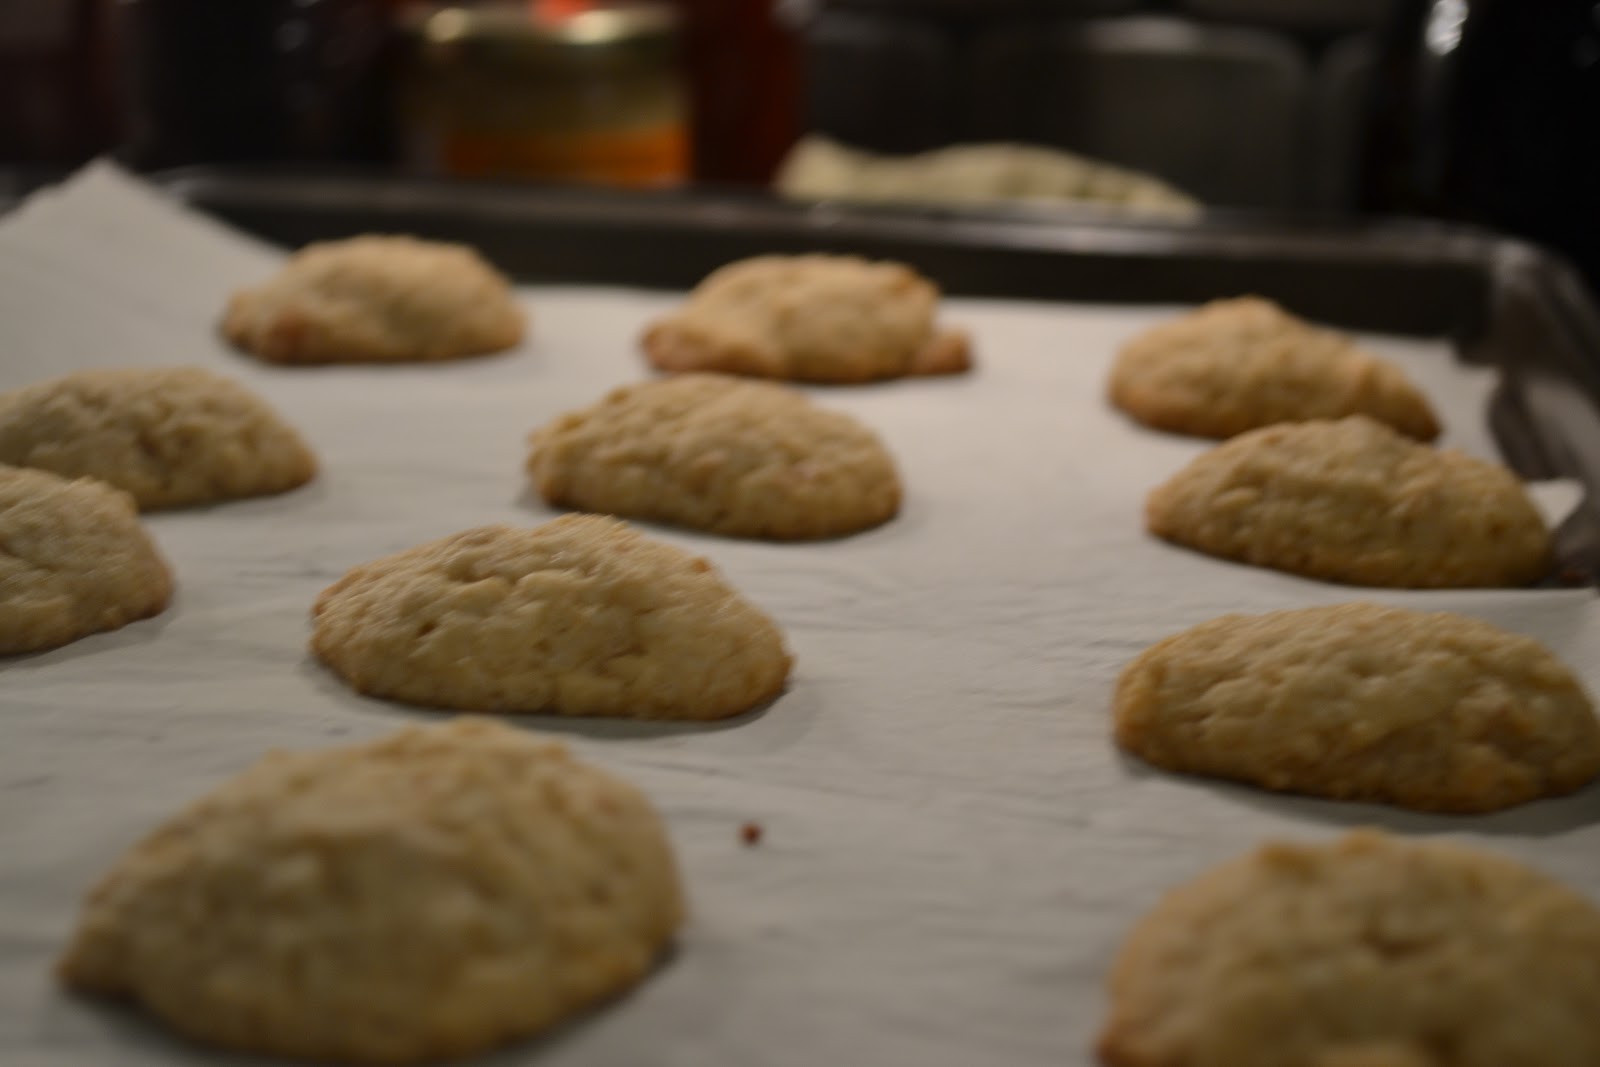
Preheat the oven to 350 degrees F. Roll out your dough in between two layers of cellophane rap, to avoid it sticking to the rolling pin and your counter. Begin to cut out your men, or other desired shapes. Place them on a tray to cook and cook for 10 minutes.


While they cook make your icing, and put it into a plastic ziplock bag. Put the bag in the fridge to cool the icing.

Put your cooked cookies on a rack to cool. Once they have cooled, place all of them on a tray and grab a few other trays too. Get your icing, and in one corner, cut out a small hole (SMALL). 

Begin to ice your cookies, placing them on your other trays once you finish them to allow them to dry. Here are some ideas below.


When you finish, let them sit overnight, and then put them in an airtight container, layering them with wax paper so they do not stick to each other, and freeze them to keep them fresh until you serve them. Remove them from the freezer one hour before serving. Enjoy!!!

Julia

Gluten Free Lasagne

Every other year my family has this big party with my relatives at my house, and the main course is always pasta- of corse! we are Italian! My mom makes like...4 home made lasagnes and this year, since there is cheese, meat sauce, and chunks of meat in it, I obviously will be left out. On top of that, the pasta is made with wheat, so I would not even be able to have any, since I've gone gluten free (WAAYYY better for your digestion). I was in the St. Lawrence market the other day with my dad, and we walked into a store with a bunch of different pastas, and I found it! Gluten free lasagne strips! The pasta is made out of rice, and I am sooo excited to try it! Here is my recipe for my lasagne..

2 boxes of lasagne
2 bags of gluten free, and soy free if you want, cheese (vegan obviously; shredded preferably)
1L of sauce or 1 can if thats what you have
Tofu strips of beef and/or chicken (optional)

First, if you do not have homemade sauce, grab a can of sauce, and do as follows. In a pan, use VERY little oil (I don't use oil if I can avoid it, however to make your sauce really tasty, use just a little) and cook one onion and 2 garlic cloves. Once they have softened, add the can of sauce (either pureed tomatoes or the chunky diced ones). Then add some basil (about 1/2 a cup). Let it cook for 15 minutes, so it absorbs all the flavour. Let the sauce cool. (IF YOU HAVE SAUCE ALREADY, PICK UP FROM HERE TOO). Take your sauce in a bowl and mix in your tofu meat strips (cut them into chunks of the size you like). I don't usually use this stuff, but it is fun for special occasions and will add some texture to the lasagne. Set the bowl aside
Start by getting a pan and measuring out how many strips you need and how you will lay them out. First decide the layout, and then stack them up until they reach about 3/4 high of the pan. That is how many layers you will need. If your pan is about 2 inches thick, aim for 4-5 layers. Cook your pasta for half the time stated on the pack. Just put the pasta in the pot of boiling water, even if they stick out, because as they soften, with a wooden mixer, you will be able to adjust them so they fit. Stir them until they are all fully in the water. Take them out and lay them on a dish flat and straight. Let them cool.

Next, put your first layer of lasagne down on the pan. Then put some sauce, and sprinkle some 'cheese'. Repeat this until you get to the top, where you put more sauce and 'cheese'. Cover the lasagne with tin foil rap and freeze it until you serve it. Cook it at 350degrees F until the cheese has melted and once the cheese has melted, continue to cook for 10 minutes. Enjoy!!


Julia

Holiday Sugar Cookies


This recipe has already been posted on my blog, so here is the link to it: http://cookingtothebeat.blogspot.ca/2012/10/vegan-sugar-birthday-cookies.html.
 Just take the recipe for it. Below I'll post the icing sugar recipe, and what I did for my decorations.

(Icing)
2/3 cup icing sugar
2 tsp soy milk
Food colouring colours of your choice


So for my cookies, I just used a few different shapes: a heart, star, tree, snowman, and I made reindeer but I only made four of them because they are hard to make. I had white, blue, and a blue/purply colour for my icing, and below are some pictures of what I did. Enjoy!


juliaaaa

Friday 21 December 2012

Rum Balls


Aki-hal y'all. So these cookies are not cooked...or don't need to be cooked, so yes that means if you ate them all you could get a little buzz. But it would be small so don't get any ideas. I'm not a big fan of rum balls, but many people are, so therefore, they are on the list of cookies I made. They are actually a weird cookie, well in vegan land, since making them involves making another cookie to go in them. You have to make vanilla wafers first, in order to make rum balls. So, in a way, this is a double post, since you will be getting two recipes. I honestly thought the vanilla wafers would be plain and dry, but my dad and my sister tried them and fell in love with them. They even said that this would be a cookie they'd ask for the recipe of. Anyways, starting with vanilla wafers you will need.....

1/3 cup margarine
1/3 cup sugar
1/3 cup brown sugar
2 teaspoons vanilla extract
1 cup flour
1/2 teaspoon baking powder

Preheat the oven to 325 degrees F
Mix all the ingredients together except the flour and baking powder. In a separate bowl mix the flour and baking powder thoroughly, then add it to the other bowl. Place 1 inch balls on a sheet and bake for 20  minutes. Let them cool when they are done.


RUM BALLS
1 cup finely chopped walnuts
2 cups vanilla wafer crumbs
1 3/4 cup sugar
1/4 cup cocoa
2 tbsp corn syrup
1/4 cup rum
1/3 cup powdered or icing sugar


In a food processor, chop the wafer crumbs and the nuts until they are a fine flour. Pour them into a bowl and add the sugar, cocoa, and corn syrup. Finally add the rum. Take ball that is a little smaller then 1 inch in diameter, and roll it in the icing sugar until fully coated. Place them in tiny candy liners (like a mini muffin cup - this is optional) and set in an air tight container in the freezer until serving them to keep them fresh.

Don't get to drunk,
Julia

Apricot Cookies


So I know apricots don't sound like the most delectable cookie ever, but they are really good. I was not going to make them at first, since the ingredients called for vegan cream cheese. I honestly did not believe that my grocery store would carry it, but I checked anyways, and what do ya know, they had some! WOO! So, you may or may not be able to make this recipe, but check Sobeys and odour store too to see if they have vegan cream cheese. Anyways, to make this recipe you will need......................
1/2 cup vegan cream cheese
1/2 margarine
1 cup flour
Apricot Jam

Preheat the oven to 375 degrees F
Mix together all the ingredients except the apricot jam. Roll the dough out, and cut it into squares that are 2 inches by two inches, or slightly bigger. Put just a little apricot jam, more in the middle, and fold over (diagonally) the dough to rap it around the jam.


Cook the cookies for 10-12 minutes, and just so you know, the more jam you put, the more jam will come spilling out all over the tray. Your best chance is to put only a little bit in the middle, and then add more to the sides after they are cooked. Freeze them in an air tight container until serving.
Enjoy,
Julia

Raspberry Jam Sandwich Cookies


Sandwich cookies rock man. They can hold so much flavour, since you can stick stuff in the middle, and they are easy to make, yet make you look like a professional chef. This recipe is great, since it has a certain texture and moisture that will be loved by everyone. It is easy to make to! You'll need...

1 cup slivered almonds
1/4 cup slivered almonds
2/3 cup margarine
2/3 cup sugar
1/4 teaspoon lemon juice
2 tbsp soy milk
1 1/2 cup flour

Raspberry Jam

Preheat the oven to 325 degrees F
In a food processor, chop the cup of slivered almonds until they are a fine flour. Then, in a bowl, mix the almonds, margarine, sugar, lemon juice, and soy milk. Then, last, add the flour. If you find it too wet add more flour, and if you find it too dry, add more soy milk.


Take your 1/4 cup slivered almonds and chop them in the food processor, in to less of a fine flour (still has some chunks but small). Take your dough and roll it out. Using a cooky cutter- I have a special one for making sandwiches- or use one big circle and a small circle, begin to cut out your cookies. Make sure you have equal bottoms and tops. If you are using two different sized cookie cutters, make 20 cookies with the big one, then in ten of those use the smaller circle to make a hole in the middle. On the top cookies (ones with holes) sprinkle on some of the almonds you just processed. Cook them for 10 minutes.


When they are done, let them cool, then take your jam and place it on the bottom of the cookies without holes. Take a top piece (with a hole) and place it on top to make the sandwich. At this point, you can freeze them too. If you want them to be extra fresh though, just freeze the cookies without the jam, and then put the jam on them just before you serve them.

Yay BAKING!!!
Julia


Coconut Cookies

With lime glaze

Coconut cookies are awesome. They have great texture and they can pretty much be paired with any flavour. This cookie is matched up with lime, and is very refreshing. I came up with two different ways of doing them, one of which came with the recipe, but the other I made up. Let's get to it! Anyways, here are the ingredients you'll need....

1 1/4 cup margarine
1/2 cup powdered sugar
1/2 teaspoon vanilla extract
1/2 teaspoon coconut extract
2 tbsp lime juice
3/4 teaspoon lime zest
1 1/4 cup corn starch
1 1/2 cup flour
3/4 cup sweetened, shredded coconut
2/3 cup sweetened, shredded coconut for decor

Lime Glaze
2 tbsp lime juice
1/2 cup powdered sugar
1/4 teaspoon coconut extract

Chocolate
3 blocks (one ounce each) of unsweetened chocolate
1/2 cup sugar

Preheat the oven to 375 degrees F
Mix together the margarine, vanilla extract, coconut extract, lime juice, and lime zest. Then add in the powdered sugar. Once that is thoroughly mixed together, add in the shredded coconut, and then the flour (leave the 2/3 cup of shredded coconut aside)


Next, take 1 inch balls of the dough and place them on a tray, and then take the 2/3 of coconut and sprinkle about a pinch of the coconut on top of each cookie. Cook them for 15 minutes, until they are firm and the coconut on the top is starting to brown. While they cook, mix the lime glaze ingredients, and set it aside. Melt the chocolate wit the sugar (see last post for instructions on how to melt chocolate).

Take the cookies out of the oven and let them cool. Once they have cooled, you can either dip them top first into the glaze, then set them aside to dry, or give them a chocolate bottom. Dip them into the chocolate and set them on wax paper on a tray. Stick the tray in the freezer so they can harden.

Put the cookies in an air tight container and freeze them to keep them fresh until you use them.

Cooooocooonut!
Julia

Thursday 20 December 2012

Moon Kourabiedes


Greek. These cookies are greek and delicious and super great for serving to a large crowd since they are easier to make then other cookies. Just so you know, I will not be serving these cookies until christmas so I will upload pictures of what they look like all together, how I plated them and such, which should be uploaded on christmas eve day. Look for the post!  Anyways, for this recipe you will need...

1/3 cup margarine
1/2 cup powdered sugar
2 teaspoons orange juice
1/8 teaspoon ground nutmeg
3/4 cup flour
3/4 cup ground almonds

2 cubes of unsweetened chocolate
1/2 cup sugar

Preheat the oven to 325 degrees
Mix together the margarine and sugar until they are both incorporated in one mixture. Add in the nutmeg. Then add in the orange juice, and finally the flour and the ground almond. Roll the dough into moon shapes and place on a tray. They will not expand much so you can fit a good number on each tray. Cook for 12-14 minutes.

While they cook, melt the chocolate in a bowl, that is sitting onto of a pot of boiling water, just so the water is touching the bowl. Mix while it melts and add in the sugar. When you take the cookies out, let them cool first.

Once the cookies are done cooling, dip one side into the chocolate mixture and set on a tray with wax paper to cool. Place the tray in the freezer for 1 hour, and then put the cookies in an air tight container in the freezer until serving them. Remove them from the freezer one hour before serving.

Delish!
Julia

P.S. when you serve them, cover the chocolate side with paper or something, then sift some powdered/icing sugar over the other side. ONLY do this right before you serve them, otherwise the sugar will literally smudge and not look nice. I'll post a picture later on!